Deploying a NodeJS application to Heroku.
In our previous tutorial building movies search web app, we learnt how to build a movies search web application using NodeJS, express and request module to fetch data via api. However we did not deploy the web appliation. In this tutorial we will learn how to easily deploy any NodeJS web application to Heroku service using GIT.
What is Heroku and why Heroku?
Heroku is a cloud-based Platform As A Service(PAAS) infrastructure that supports multiple programming languages where a developer can build, run, operate and deploy applications.
The reason as to why most developers use Heroku is because it is easy to manage and scale applications. They also provide tools and services that are designed to boost developer’s productivity.
Requirements.
- NodeJS and npm Installed .
- Heroku account (Free).
- Heroku CLI.
- Git.
- Your NodeJS web application.
To easily follow up with this tutorial, you can download the source code here. Make sure you have your own api key in order to execute the source code. However, you are free to use any NodeJS based application.
Why do errors occur after deployment.
Often time when deploying to Heroku, errors tend to arise and this is due to some minor issues most programmers forget such as:
- Having a hard-coded port number such as
app.listen(2222, …)instead ofapp.listen(process.env.PORT || 2222) - Not including the procfile in the root of the directory.
- Not installing dependencies
Installing the required tools and creating a Heroku account.
- Heroku CLI:
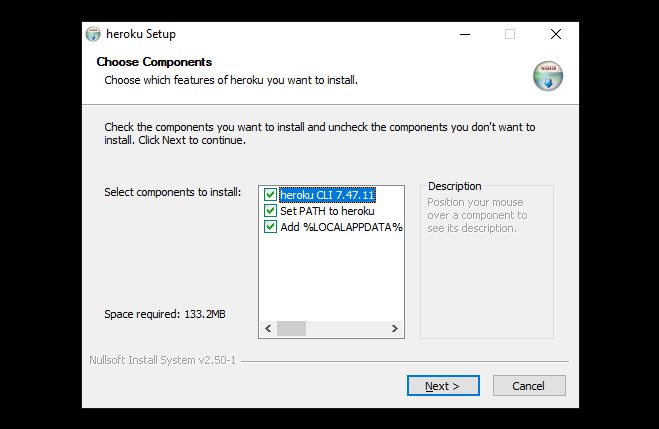
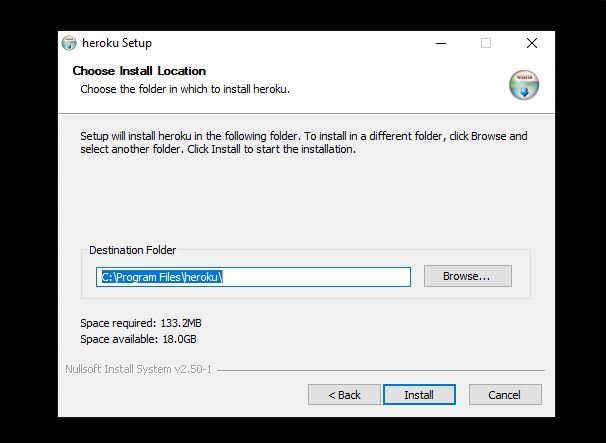
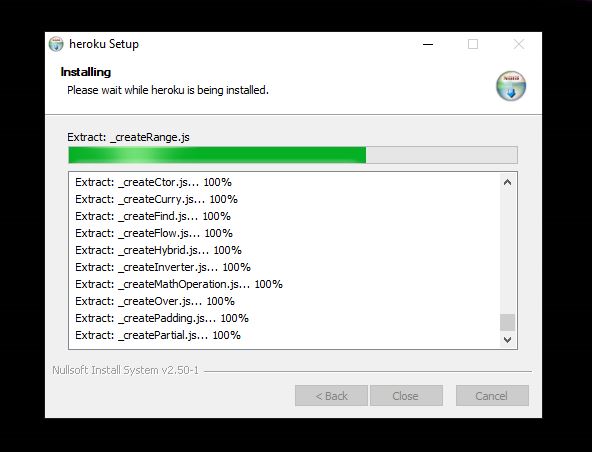
For windows OS users, your can download and install 32-bit installer version here or 64-bit version installer from this link here.


 After installation write the command below on your terminal to check if Heroku CLI has been installed. It should return the version of Heroku.
heroku -v
For Linux (Ubuntu) users, type the command below on your terminal.
$ sudo snap install --classic heroku
Snap is also available for other Linux distributions as well
For macOS users, your can type the command below to install Heroku.
$ $ brew tap Heroku/brew && install heroku
- NodeJS and Git:
I will not explain how to install Nodejs and Git on your machine, I assume that you have them already installed.
- Heroku account:
Visit https://signup.heroku.com and create your account. After creating your account, note your email and password for we will use then later on when deploying to Heroku.
Dependencies declaration.
In every NodeJS based application there must be package.json file in the root of the project’s directory serving a purpose of handling information to the npm such as dependencies and metadata.
You can initialize the package.json file using the command npm init. It is not mandatory to fill all the details.
$ cd movietutorial$ npm init...name: (movietutorial)version: (1.0.0)description: Our NodeJS applicationentry point: (index.js)test command:git repository:keywords: nodejs herokuauthor: Nicolicense: (ISC) MIT...
Below is how the package.json from my previous tutorial looks like.
{"name": "movieapi","version": "1.0.0","description": "Using API to retrieve movies","main": "index.js","scripts": {"start": "node index.js","heroku-postbuild": "npm install && npm run build"},"repository": {"type": "git","url": "git+https://github.com/Ngufuli/movieAPI.git"},"keywords": ["NODEJS","EXPRESS","EJS","API"],"author": "Nicodemus Peter Ngufuli","license": "ISC","bugs": {"url": "https://github.com/Ngufuli/movieAPI/issues"},"engines": {"node": "14.x"},"homepage": "https://github.com/Ngufuli/movieAPI#readme","dependencies": {"body-parser": "^1.19.0","ejs": "^3.1.3","express": "^4.17.1","gulp": "^4.0.2","path": "^0.12.7","popper.js": "^1.16.1","request": "^2.88.2"}}
To install the dependencies, write the command below.
npm install <package/dependency name> --save
For those following this tutorial using the source code I shared earlier from my GitHub repository, you can write the command npm install and the packages will install.
Node Version in package.json file.
We have to specify the version of NodeJS from which our project executed successfully during runtime. When we deploy in Heroku later on, the version on NodeJS specified in the package.json file will enable Heroku to configure an environment to have a similar version of NodeJS as the one we used in our local environment.
To determine the version of NodeJS, write the command node -v or node --version on your terminal.
Below is how the added script should look like in your package.json file.
"engines": {"node": "14.x"},
You will notice that it is already added in my projects code, but for those following this tutorial using their own project, they can add the node version script in the package.json file.
Determining the entry point.
In order to start you web application, Heroku initially looks for a Procfile. Incase the procfile does not exist in your NodeJS application, an attempt to start the web process will be made through the start script in the package.json file.
Creating a Procfile.
In the root of your project directory, create a file named Procfile without any extension.
Inside the Procfile write:
web: npm run start
Building and running an application locally.
You can build and run your application locally using the command heroku local. Eventually your app should be running on port 5555 via http://localhost:5000/
If you navigate to local host via port 5000 on your preferred browser, your application should be running perfectly and now we should proceed further with deploying the app to Heroku.
DEPLOYING TO HEROKU.
Initialize your Git by writing the command below in your terminal.
git init
Then add all changes from your working directory to the staging area using the command:
git add .
Afterward proceed with saving changes to a commit by using the command:
git commit -m “<you commit message>”
Now let us log in to our Heroku platform using the credentials we created earlier and if you already have an account your can use your own login credentials. Use the command below on your terminal and you will be prompted to enter your login details through your web browser.
heroku login


After successfully logging into your Heroku account now it is time to create our Heroku app instance using the command heroku create or:
Heroku create <your preferred name>

Finally let us deploy using the command:
git push heroku master


Thank you for taking your time to read this tutorial here on OneShekel, I hope you found it useful.
Table Of Contents
Related Posts
Quick Links

