Creating a movies database with images, ratings and popularity statistics can be a great challenge especially for startups.
Luckily there are free third party api’s out there for developers to utilize as per their needs such as Utelly, IMDb and Entertainment Data hub. I personally prefer The Movie DB.
 In this article I will explain in detail on how to build a web based movies search service using The Movies DB api.
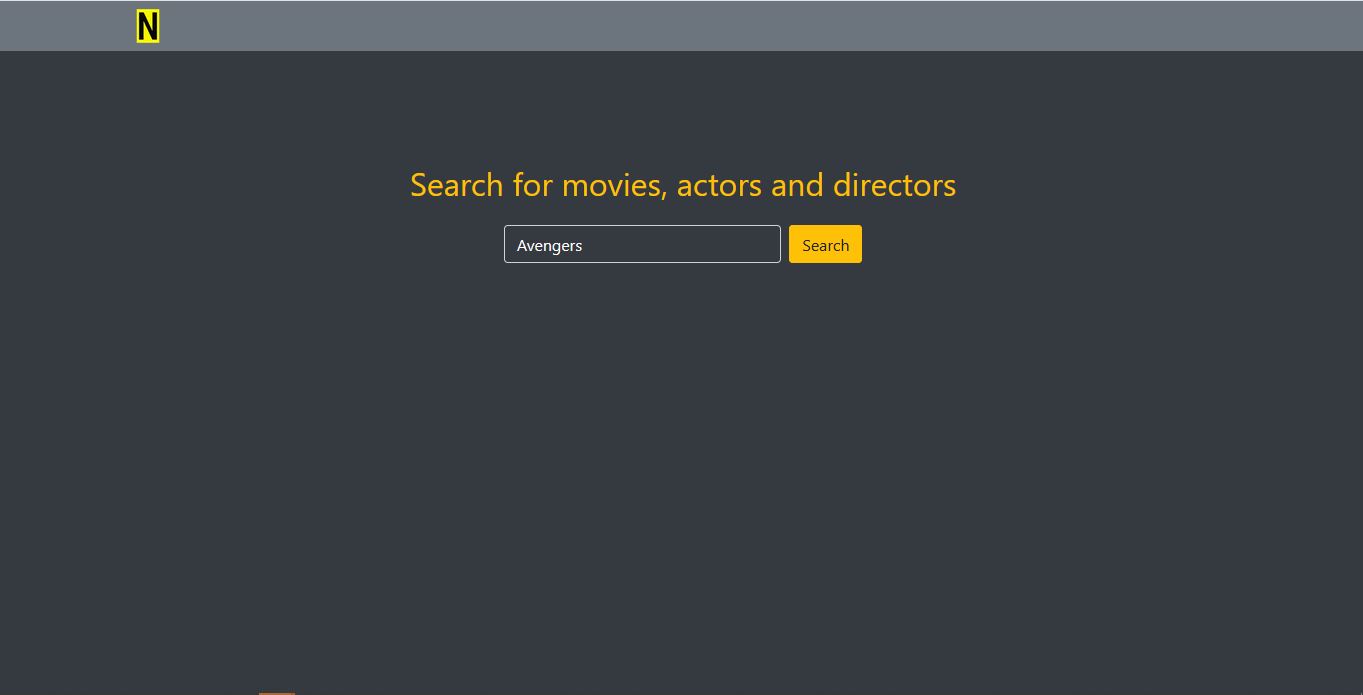
here is the final project that we are building
Technonologies and Dependencies.
- NodeJS is the run time environment based on google’s V8 engine. Best used for scalable fast web applications.
- ExpressJS is a minimalist non opiniated framework use to build web server on top of NodeJS.
- EJS is a templating engine, I prefer template engines since they require less time to build a front end interface.
- path modules provides an approach of working with directories and files paths
- body-parser is a middleware responsible for parsing incomming request bodies before being handled by the web server.
- request is a module or dependency for running HTTP requests. In simple terms it’s a wrapper arround NodeJS’ built in HTTP module.
I will be using Visual Studio code in this tutorial. Having said so, let’s get started
Step 1 - Creating The Movie db credentials.
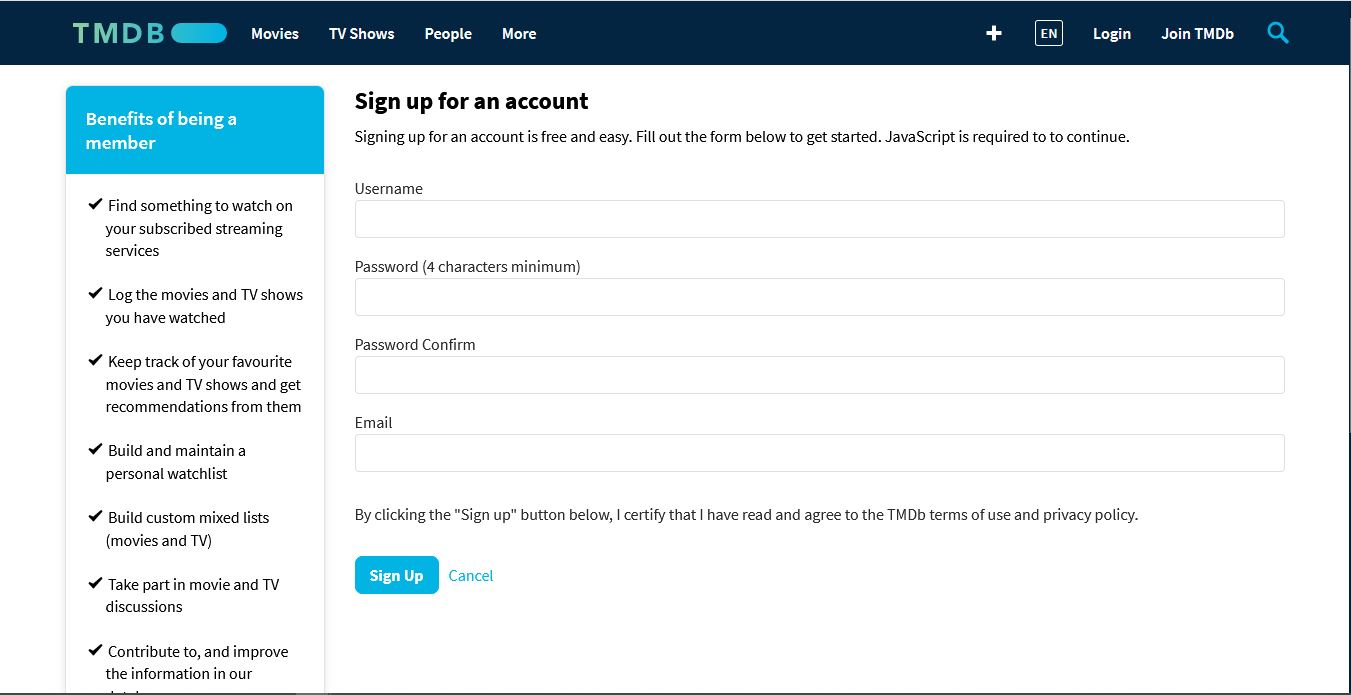
Head over to The Movie db and create an account
After signining up, login then go to settings -> api -> details. Then fill in the details as described by the input field.

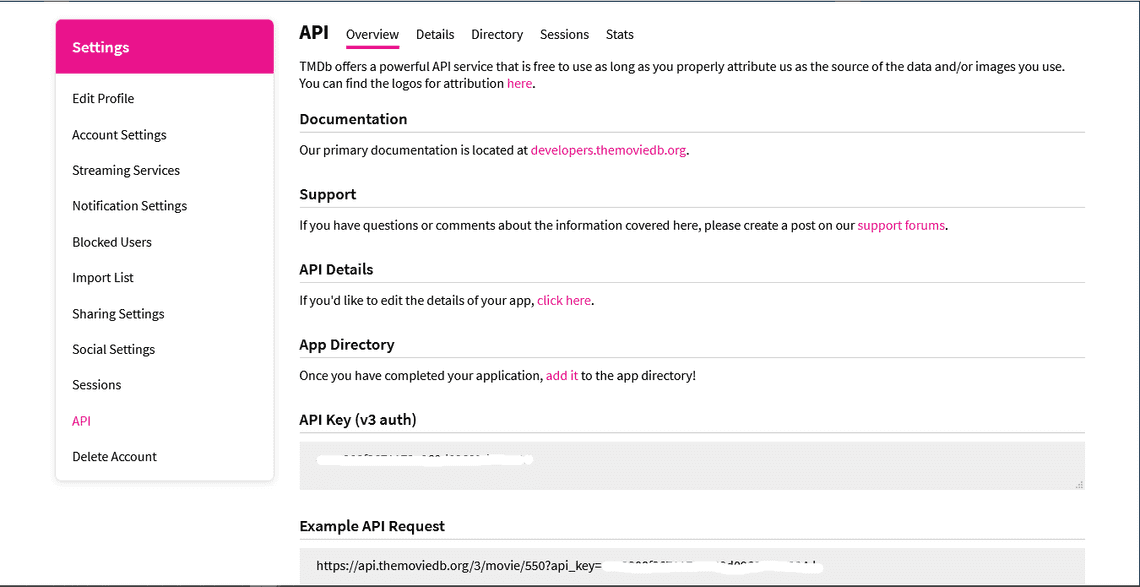
After filling the above details hit save and your api key will be automatically generated. To view your api key, go to api -> overview

Now that we have our API key, navigate to the documentation under getting started you should see Search and Query for details click that and you’ll see some details on how to issue queries to any movie. By default they used Jack Reacher with the movies method as described below
https://api.themoviedb.org/3/search/movie?api_key={api_key}&query=Jack+Reacher
Step 2 - Create a project directory on our text editor.
Create a directory with the name of your choice. I’ll name mine movieTutorial
mkdir movieTutorial && cd movieTutorial
Inside movieTutorial let’s create the entry point of our application with serves as the web server by creating a file, you can name it however your want, I named mineindex.js by simply writing the command touch index.js on the terminal
Set up a new npm package by writing the command below on your terminal
npm init -y
Install the the following dependecies from the command below
npm install express path body-parser ejs request --save
Let’s install nodemon globally to monitor changes on our source and save us some time during development by running the code below.
npm install -g nodemon
Step 3 - Initialize modules.
Depending on how you will name your entry point of your web application, initialize the modules with the code below.
//index.jsconst express = require('express');const path = require('path');const request = require('request');const app = express();
Make some changes in package.json file by altering script shown from the screen shot below. This will enable nodemon to detect the entry point and execute the server.

Since we are using EJS as the template engine, add the code below to set and use EJS as the default template engine.
//index.jsapp.set('views', path.join(__dirname, 'views'));app.set('view engine', 'ejs');
Step 4 - Serving static file.
In order to access images, custom javacript code or even CSS styles, we need to create a directory calledpublicfrom the root of our director using the command below. In this directory we’ll store our CSS, JavaScript as well as images
mkdir public
Likewise on index.js file add the code below to enable the server to gain access of the the public directory assets
app.use(express.static('public'));
On our home directory, write the command below to create a views directory where our EJS templates will reside.
mkdir views
Step 5 - Making expressJS routes.
Routing of our application begins here by creating endpoints(Uniform Resource Indicators) which will repond to the clients’ requests.
The code below defines a method that redirects to the default route. There are various methods such as GET, POST, PUT and DELETE.
In this tutorial, we’ll be dealing with the GET method only.
Below is the code entailing an express method that handles GET HTTP requests, within this method there is a callback function which takes two arguments request req and response res.
req is typically an object which handles requests from the client’s browser or cURL, it s use case include.
- Form data
- JSON data
- User agent string
res on the other hand repesents HTTP response that the web server sends after receiving HTTP request.
res.render('search') will render the search.ejs template then send the response to the client’s browser.
When deploying this web app to different environments such as Heroku, process.env.PORT will tell the server what port to listen on
//index.jsapp.get('/', (req, res)=>{res.render('search');})const port = process.env.PORT || 8080;app.get(port, ()=>{console.log(`Server started on port: ${port}`);})
Inside the views directory create a file. I will call mine search.ejs then copy and paste the code below.
or you can run the command cd views && touch search.ejs on your terminal then paste the code below into search.ejs
<!-- Save this file with .ejs extension --><!DOCTYPE html><html lang="en"><head><title>movieTutorial</title><meta charset="utf-8"><meta name="viewport" content="width=device-width, initial-scale=1"><link rel="stylesheet" href="/bootstrap-4.5.2-dist/css/bootstrap.min.css"></head><body class="bg-dark"><!-- Navbar begins here --><nav class="nav navbar-expand-sm bg-secondary navbar-secondary"><span class="container"><a class="navbar-brand" href="/"><img src="/images/n.png" alt="Logo" style="width: 40px;"></a></span></nav><!-- container begins here--><div class="container pt-5"><!-- Jumbotron begins here --><div class="pt-5"><div class="text-center text-warning p-3"><h2>Search for movies, actors and directors</h2></div><div class=""><form action="/result" method="GET" class="justify-content-center d-flex"><input type="text" name="search" class="form-control w-25 bg-dark text-white" value="Avengers"><input type="submit" class="btn btn-warning ml-2" value="Search"></form></div></div><!-- jumbotron ends here --></div><!-- container ended here --><!-- scripts begin here --><script src="/bootstrap-4.5.2-dist/js/bootstrap.min.js"></script></body></html>
To avoid confusion with version on bootstrap CSS and JavaScript I have included the download files for the CSS and JavaScript
- Click here to download minified Bootstrap 4.5.2 JavaScript file
- Click here to download the minified JavaScript file
Inside public directory run mkdir css js command on your terminal, then paste the two downloaded files into their respective directories.

Let’s create the search results page that upon user’s submission on a particular search query he/she will be redirected to view their movies results.
<!DOCTYPE html><html lang="en"><head><title>Results-N Movies</title><meta charset="utf-8"><meta name="viewport" content="width=device-width, initial-scale=1"><link rel="icon" href="/favicon/favicon.ico" sizes="16x16" type="image/ico"><link href="https://fonts.googleapis.com/icon?family=Material+Icons"rel="stylesheet"><link rel="stylesheet" href="/design/app.css"><link rel="stylesheet" href="/bootstrap-4.5.2-dist/css/bootstrap.min.css"></head><body class="bg-dark"><!-- Navbar begins here --><nav class="nav navbar-expand-sm bg-secondary navbar-secondary"><span class="container"><a class="navbar-brand" href="/"><img src="/images/n.png" alt="Logo" style="width: 40px;"></a><span class="float-right pt-1"><span><button type="button" class="btn btn-primary btn-sm" disabled><span class="badge badge-light"><%=data['total_results']%></span> Results</button></span></span></span></nav><!-- container begins here--><div class="container pt-3"><div class="p-3 sticky-top"><form action="/result" method="GET" class="justify-content-center d-flex"><input type="search" name="search" class="form-control w-25 bg-dark text-white" placeholder="Search"><input type="submit" class="btn btn-warning ml-2" value="Search"></form></div><% data['results'].forEach( movie => {%><div class="card-header"><div class="row pt-3"><div class="col-md-3 col-sm-3 col-xs-3"><div class="card-image pt-3"><img src="https://image.tmdb.org/t/p/w600_and_h900_bestv2/<%=movie['poster_path']%>" alt="Image" class="img-fluid"></div></div><div class="col-md-6 col-sm-6 col-xs-3"><h4 class="text-warning p-1"><strong><%=movie['title']%></strong></h4><hr><p class="text-white"><%=movie['overview']%></p></div><div class="col-md-3 col-sm-3 col-xs-3"><p class="badge badge-warning text-black">Popularity: <strong><%=movie['popularity']%></strong></p><hr><p class="badge badge-warning text-black">Votes: <strong><%=movie['vote_average']%></strong></p><hr><div><span class="badge badge-warning text-black">Release: <strong><%=movie['release_date']%></strong></span></div></div></div></div><%});%></div><!-- container ended here --><!-- scripts begin here --><script src="/bootstrap-4.5.2-dist/js/bootstrap.min.js"></script></body></html>
Now let’s create the results route in index.js where we’ll define the api.
Using req.query.search we’ll store the text input from the client into the variable query
There after we create the request method from the request module from which the first parameter will be the api url, then followed by callback function having three arguments error, response and body.
- Error Describes the type of error that occured
- Response Shows the status code if response has been received
- Body Returns the
stringbased data we intend to receive from the api’s url.
let data = JSON.parse(body); parses data from string format to JSON(JavaScript object)
app.get('/result', (req, res)=>{let query = req.query.search;request("https://api.themoviedb.org/3/search/movie?api_key={API_KEY}d&query="+query, (error, response, body)=>{if(error){console.log(error);}else{let data = JSON.parse(body);res.render('result', {data: data, querySearch: query});}})})
Inside the root of your directory run nodemon and we are good to go. Open your web browser and run localhost:8080 where the port number could by any number that you defined on your server.

- We learn what an API is and how we can use third pary data on our web application
- We used TMDB’s API which was quite easy using request module
- We understood the glimpse of NodeJS/Express architecture
- In the next tutorial we’ll learn how we can deploy our web app on services such as Heroku
Thank you for reading and increasing your knowledge base via OneShekel. Next, read about How to deploy NodeJS web application to Heroku
Share
Related Posts
Quick Links

